Removal Silicone: The Complete Guide to Removing Silicone Sealant Properly
When it comes to household maintenance, construction projects, or bathroom and kitchen renovations, removing old silicone sealant can be one of the most frustrating tasks. Whether you’re dealing with mildew-stained caulk or prepping for a fresh seal, removal silicone is a necessary process that demands care, patience, and the right technique. This comprehensive guide will walk you through the best methods for silicone sealant remover, answer questions like how to remove clear silicone caulk, and explain how can I remove silicone from various surfaces effectively.
Understanding Silicone Sealant
What Is Silicone Sealant?
Silicone sealant is a flexible, rubber-like material commonly used to create a waterproof barrier around bathtubs, sinks, windows, and tiles. It adheres strongly to a wide variety of surfaces including glass, porcelain, plastic, metal, and tiles, making it effective—but also notoriously difficult to remove once cured.
Why Removal Silicone Is Necessary
There are several reasons why removal silicone becomes necessary:
-
Mold or mildew buildup
-
Cracks or separation from the surface
-
Replacing with new sealant for aesthetic or functional reasons
-
Damage or discoloration
Knowing how to remove silicone correctly prevents surface damage and ensures better adhesion of new sealant.
Tools and Materials You’ll Need
Before starting the process, gather the following tools and materials:
-
Utility knife or silicone scraper
-
Plastic putty knife
-
Silicone sealant remover (gel or liquid)
-
Rubbing alcohol or mineral spirits
-
Soft cloths or sponges
-
Protective gloves
-
Safety goggles
-
Mild detergent and water
-
Masking tape (optional for precision)
How to Remove Silicone: Step-by-Step Guide
Step 1: Cut Away the Bulk of the Silicone
Use a utility knife or silicone removal tool to gently slice along the edges of the silicone bead. Once loosened, peel away as much of the silicone as possible using a plastic scraper. Avoid using metal tools that can scratch delicate surfaces like acrylic or porcelain.
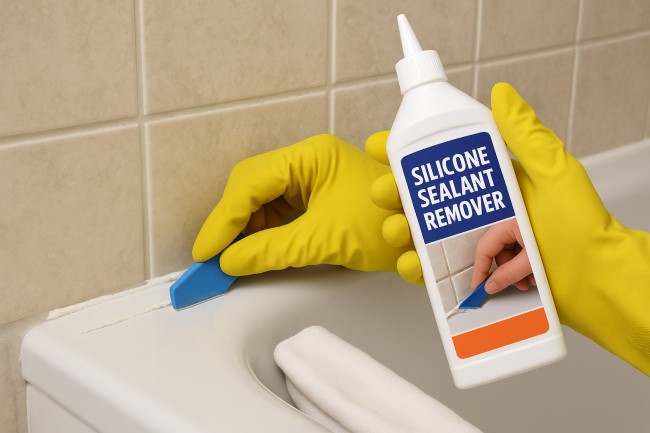
Step 2: Apply a Silicone Sealant Remover
Once the bulk is removed, apply a silicone sealant remover to the remaining residue. Choose a remover that’s suitable for your surface—some are safe for tile and metal but not plastic or wood. Always test in an inconspicuous area first.
Let the remover sit for the time specified on the product label, usually 15–30 minutes. This softens the leftover silicone, making it easier to scrape off.
For effective removal silicone, always allow the chemical remover adequate time to work and penetrate the residue.
Step 3: Scrape Off Remaining Residue
After the remover has done its job, gently scrape off the loosened silicone. Use a plastic putty knife or scraper and apply steady but careful pressure. Repeat the application if needed until no visible traces of silicone remain.
In removal silicone from acrylic or plastic surfaces, avoid aggressive scraping and use soft tools to prevent damage.
Step 4: Clean the Surface Thoroughly
Use a soft damp cloth or sponge and mild detergent to clean the treated area. Follow with rubbing alcohol or mineral spirits to remove oily residue left behind by the silicone. This is a crucial step to ensure proper adhesion if you plan to apply new sealant.
One of the most overlooked steps in removal silicone projects is ensuring the surface is residue-free before resealing.
Common Challenges During Removal Silicone Tasks
-
Invisible residue that hinders adhesion of new caulk
-
Tight corners that are hard to reach
-
Risk of surface damage from harsh tools or chemicals
-
Time-consuming process requiring patience and care
How to Remove Clear Silicone Caulk
Clear silicone can be even more challenging to remove because it blends into surfaces. Use good lighting and a flashlight to identify all the residue. Once found, follow the same removal silicone steps but be especially thorough with the cleaning process. Silicone residue is invisible but can still prevent new caulk from adhering properly.
If you’re wondering about removal silicone for hard-to-reach areas, a flexible plastic scraper works best.
Tips for Removing Silicone from Different Surfaces
Removing from Glass
-
Use a razor blade held at a shallow angle to avoid scratching.
-
Follow up with alcohol-based cleaner.
Removing from Tile or Ceramic
-
Use chemical removers sparingly to avoid damaging grout.
-
Soft brushes work well for crevices.
Removing from Acrylic or Plastic
-
Avoid sharp tools.
-
Use plastic scrapers and cleaners specifically marked as safe for plastic.
Removing from Metal
-
Mineral spirits work well.
-
Avoid acidic removers that may corrode the surface.
How Can I Remove Silicone Without Damaging the Surface?
The key is to be gentle and consistent. Avoid rushing the process. Always use non-abrasive tools and surface-safe removers. Never use sandpaper or steel wool on surfaces like porcelain, acrylic, or painted wood, as they will cause damage.
Common Mistakes to Avoid
Using Metal Tools Aggressively
This can scratch or damage the surface, especially with soft materials like plastic or fiberglass.
Skipping the Cleaning Step
Even after visible silicone is gone, its oily residue can remain and prevent new sealant from bonding properly.
Applying New Silicone Too Soon
Let the surface dry completely before reapplying any sealant. Moisture can cause new silicone to peel or not cure correctly.
Frequently Asked Questions
What Is the Best Silicone Sealant Remover?
Look for gel-based removers from hardware stores, specifically labeled for household or bathroom use. Choose products that mention compatibility with your surface type.
Can Vinegar Remove Silicone?
Vinegar can soften some types of silicone, but it’s not very effective for complete removal silicone. It may help loosen small bits during the cleaning process but should not be relied on as the main remover.
How Long Does It Take to Remove Silicone?
Depending on the size of the area and the number of layers, the process may take from 30 minutes to 2 hours.
Is It Safe to Remove Silicone Myself?
Yes, as long as you use proper tools and safety gear. Wear gloves and ensure good ventilation when using chemical removers.
Is Heat Useful for Removal Silicone?
Yes. Applying gentle heat can soften silicone, making the removal silicone process easier.
Final Thoughts
Removal silicone is an essential maintenance task that, when done correctly, restores the cleanliness, function, and aesthetics of your home fixtures. With the right tools, techniques, and patience, anyone can tackle the process effectively. Whether you’re learning how to remove clear silicone caulk or wondering how can I remove silicone from hard-to-reach spots, following this step-by-step approach will ensure success.