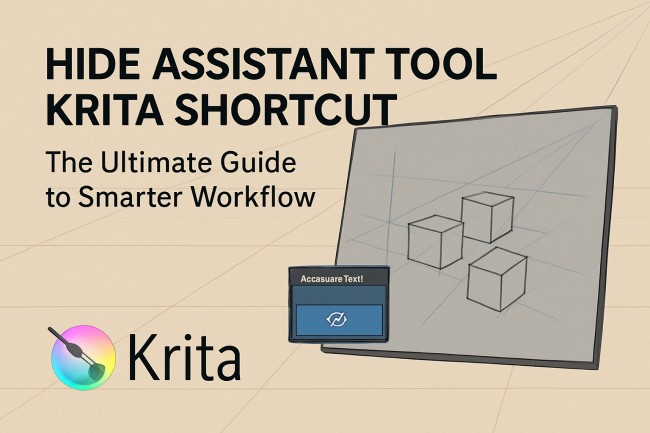
Hide Assistant Tool Krita Shortcut – The Ultimate Guide to Smarter Workflow
In the world of digital art, Krita stands out as a powerhouse tool for illustrators, concept artists, and painters. Among its many advanced features, the Assistant Tool is a game-changer for creating perfect shapes, lines, and perspectives. However, once you’ve laid down your assistants, they can sometimes get in the way of a clean view or disrupt your painting flow. That’s when knowing how to quickly hide the Assistant Tool in Krita becomes crucial.
This article will give you a complete, easy-to-follow guide on the “hide assistant tool Krita shortcut”, why it matters, how to customize it, how it relates to krita snap to assistant shortcut, and what to expect from this underrated function.
What Is the Assistant Tool in Krita?
Understanding the Assistant Tool
The Assistant Tool in Krita allows artists to use guides for lines, ellipses, vanishing points, and other precise shapes. It’s an essential helper when creating technical artwork, architecture, or perfectly proportioned drawings.
What It Does
Assistants help you snap brush strokes to specific paths or shapes without needing to rely on freehand precision. You can place multiple assistants on the canvas—such as:
-
Perspective assistants (1-point, 2-point, etc.)
-
Ellipse guides
-
Parallel lines
-
Concentric circle tools
Why It Becomes Distracting
Once you’re done placing your assistants and move into the coloring or detailing phase, these visual aids can become a nuisance. Their visibility may clutter your canvas, making it hard to focus on finer strokes. That’s where hiding them becomes not just helpful, but necessary.
Default Behavior in Krita
Is There a Built-In Shortcut?
No, Krita does not have a default shortcut assigned to hide or show the Assistant Tool overlay. Instead, you typically need to go through the following manual steps:
Manual Method
-
Navigate to View in the top menu.
-
Select or deselect Show Painting Assistants.
This will toggle the visibility of all assistants you’ve created on the canvas.
How to Create a Custom Shortcut
Streamlining Your Workflow
If you regularly use assistants, clicking through the menu every time you want to hide or show them can slow you down. Thankfully, Krita allows for complete shortcut customization.
Steps to Set Your Own Shortcut
-
Go to Settings in the top bar.
-
Select Configure Krita.
-
In the side menu, choose Keyboard Shortcuts.
-
In the search bar, type “Assistants”.
-
Locate the action “Show Painting Assistants”.
-
Click on it and assign your preferred shortcut (e.g.,
Ctrl + ;orAlt + A). -
Press OK to save your changes.
Now, with a single keystroke, you can toggle the assistant visibility without digging through menus.
Hiding Individual Assistants
More Control Over the Canvas
If you don’t want to hide all assistants but rather a specific one, Krita also provides that functionality.
Using the Eye Icon
When you select the Assistant Tool and click on an assistant object, a small overlay box appears. In this interface, you can:
-
Toggle visibility by clicking the eye icon.
-
Delete the assistant using the trash icon.
-
Adjust position via control points.
This allows for finer control, especially useful if you want to hide only certain guides while retaining others.
Disabling Snapping to Assistants
Hiding vs. Deactivating
Hiding assistants removes the visual clutter, but snapping might still occur when drawing. To turn off the assistant’s snapping behavior:
Toggle Snap to Assistants
-
Select the Brush Tool.
-
In the top tool options (or docker), uncheck the box labeled “Snap to Assistants”.
This disables the snapping behavior without hiding the assistant visually. It’s helpful when you still want to use the assistant later but need freehand flexibility in the meantime.
Krita Snap to Assistant Shortcut
Although there is no default krita snap to assistant shortcut, you can assign a custom shortcut to toggle snapping behavior. Just follow these steps:
-
Go to Settings → Configure Krita.
-
Select Keyboard Shortcuts.
-
In the search bar, type “Snap to Assistants”.
-
Assign a key combination (e.g.,
Ctrl + Shift + A) for toggling. -
Save your changes.
This gives you on-the-fly control over snapping behavior, enhancing flexibility while drawing.
Use Cases: When to Hide the Assistant Tool
Real-World Scenarios
Scenario 1 – Shading and Coloring
Once the structure of your drawing is complete using perspective or shape assistants, you’ll likely switch to coloring or shading. The assistants can become distracting here.
Scenario 2 – Finalizing Line Work
When working on refined line art, guides can disrupt your view and interfere with brush direction. Hiding them allows for cleaner, freeform drawing.
Scenario 3 – Speed Sketching
Artists who sketch quickly between guided and unguided strokes benefit from a hotkey-based toggle, improving speed and efficiency.
Tips for Maximum Efficiency
Recommended Shortcuts
If you’re unsure which shortcut to assign, here are a few ergonomic suggestions:
-
Ctrl + ; — easy to remember and rarely conflicts with other tools.
-
Alt + A — intuitive for “Assistant.”
-
F9 — good for single-key toggling.
Combine with Workspace Settings
Create a custom workspace layout where certain assistant settings are pre-enabled or disabled. Krita allows you to save workspace presets, which can be helpful if you switch frequently between sketching and painting modes.
Common Mistakes and How to Avoid Them
Misunderstanding Visibility vs. Snapping
Some users believe hiding the assistant will stop their brush from snapping. This is not true. You must disable snapping separately via the tool options or use your krita snap to assistant shortcut to gain full manual control.
Forgetting to Save Shortcuts
After assigning custom shortcuts, always remember to click OK or Apply in the configuration window. Otherwise, your settings won’t be saved.
Conclusion
Mastering the hide assistant tool Krita shortcut can significantly enhance your workflow, reduce on-screen clutter, and improve your drawing experience. While Krita doesn’t offer a default shortcut for this, the software gives you complete freedom to set up your own.
Pair that with toggling assistant visibility and assigning a krita snap to assistant shortcut, and you’ve got a highly flexible, professional-grade drawing environment. Take a few minutes to configure your shortcuts today—it will save you hours in the long run and make your creative process much smoother.